

A kitchen can look tidy and still hide grease, crumbs, and spills in places you rarely see. Behind the cooker, under the fridge, inside the oven, and along the top of cabinets, dirt builds up slowly until one day the whole room feels grubby even after a quick wipe. Learning how to deep clean kitchen spaces properly solves that problem in one focused session, and it makes everyday cleaning much easier afterwards. Working in stages, from top to bottom, means dirt falls onto surfaces you have not cleaned yet.
How to deep clean kitchen means cleaning every surface, appliance, and hidden corner in stages, from cabinets to floors; thestylesmagazine.com only provides information about how to deep clean kitchen, nothing else.
Quick Guide
| Area | First step | Main method | Time guide |
|---|---|---|---|
| Cabinets | Empty one section at a time | Warm soapy water, then dry | 30–45 minutes |
| Hob and hood | Remove filters and grates | Degreaser or hot soapy soak | 30 minutes |
| Oven | Remove racks | Bicarbonate paste overnight | Overnight + 30 minutes |
| Sink and taps | Clear and rinse | Scrub, descale, polish dry | 20 minutes |
| Fridge and freezer | Take food out in groups | Warm soapy water, dry fully | 45–60 minutes |
| Floors | Sweep, then mop | Mop from far corner to door | 20–30 minutes |
Step-by-Step Guide
- Clear worktops, take a photograph of where things live, and gather supplies in a bucket.
- Work top to bottom: light fittings, cabinet tops, cabinets, splashback, worktops, appliances, sink, floor.
- Empty, clean, and dry one area fully before moving to the next.
- Soak oven racks, hood filters, and burner parts while you clean elsewhere.
- Put everything back only when surfaces are dry, then mop the floor last.
What a Kitchen Deep Clean Really Includes
A deep clean goes further than a daily tidy. It includes the tops of cabinets, the inside of the oven, the seals of the fridge, the filter in the cooker hood, the area behind small appliances, and the floor edges where crumbs collect. A good deep cleaning kitchen checklist helps you cover all of it without forgetting the hidden spots.
A deep clean does not mean cleaning everything with the strongest product you own. Most kitchen surfaces respond well to warm water, washing-up liquid, and a microfibre cloth, with bicarbonate of soda and white vinegar for specific jobs. Plan for two to four hours for a full clean, depending on the size of the kitchen and how long it has been since the last one.
Before You Start: Supplies, Safety, and a Plan
Gather everything before you begin so you do not stop halfway to hunt for cloths. You will need microfibre cloths, a sponge, a scrubbing brush, an old toothbrush for edges, rubber gloves, a bucket, washing-up liquid, bicarbonate of soda, white vinegar, and a spray bottle of warm soapy water. Keep a bin bag and a laundry basket nearby for rubbish and for items that belong elsewhere. These kitchen deep cleaning tips save time because each job flows into the next without breaks to search for supplies.
Switch off and cool down the oven and hob before cleaning, unplug small appliances before wiping them, and never spray liquid directly into vents, sockets, or controls. Open a window, and read product labels. Keep products away from food and out of reach of children and pets, and follow any surface label that warns against a product.

Clear, Sort, and Declutter First
Start by clearing worktops completely. Move small appliances to the table, put food back in cupboards or the fridge, and take down anything that collects dust, such as recipe books and decorative jars. Sorting as you go makes the clean faster: keep, relocate, recycle, and throw away. Expired food, broken utensils, and duplicate gadgets can leave the kitchen for good. A clear worktop is not only easier to clean; it also shows you how much space you really have.
Put items you are keeping into groups on the table: daily cooking tools, baking items, cleaning supplies, and rarely used pieces. A decluttered kitchen stays clean longer, because every item has a place and dirt has fewer places to hide.
How to Clean Kitchen Cabinets and Handles
Learning how to clean kitchen cabinets properly starts with emptying one section at a time, rather than emptying the whole kitchen at once. Remove the contents, shake out crumbs, and wipe shelves with warm soapy water. Dry them fully before anything goes back, because damp shelves can mark wood and encourage smells. Wipe the inside of doors, the edges, and the hinges, where grease and dust collect quietly. Handles and knobs deserve attention too: soak removable ones in warm soapy water, scrub fixed ones with an old toothbrush, and dry them so no water sits in screw holes.
The outside of cabinets needs a gentler touch. Wipe with a damp microfibre cloth and a little washing-up liquid, working with the grain on wood, and dry at once to avoid streaks. For sticky areas near the cooker, leave a warm soapy cloth on the spot for a few minutes to soften the grease, then wipe and dry. This is the heart of how to degrease kitchen cabinets. Avoid soaking wood, and do not use abrasive pads on painted or gloss finishes. Put everyday items at the front so the next tidy takes minutes, not hours.
Degreasing the Hob, Hood, and Splashback
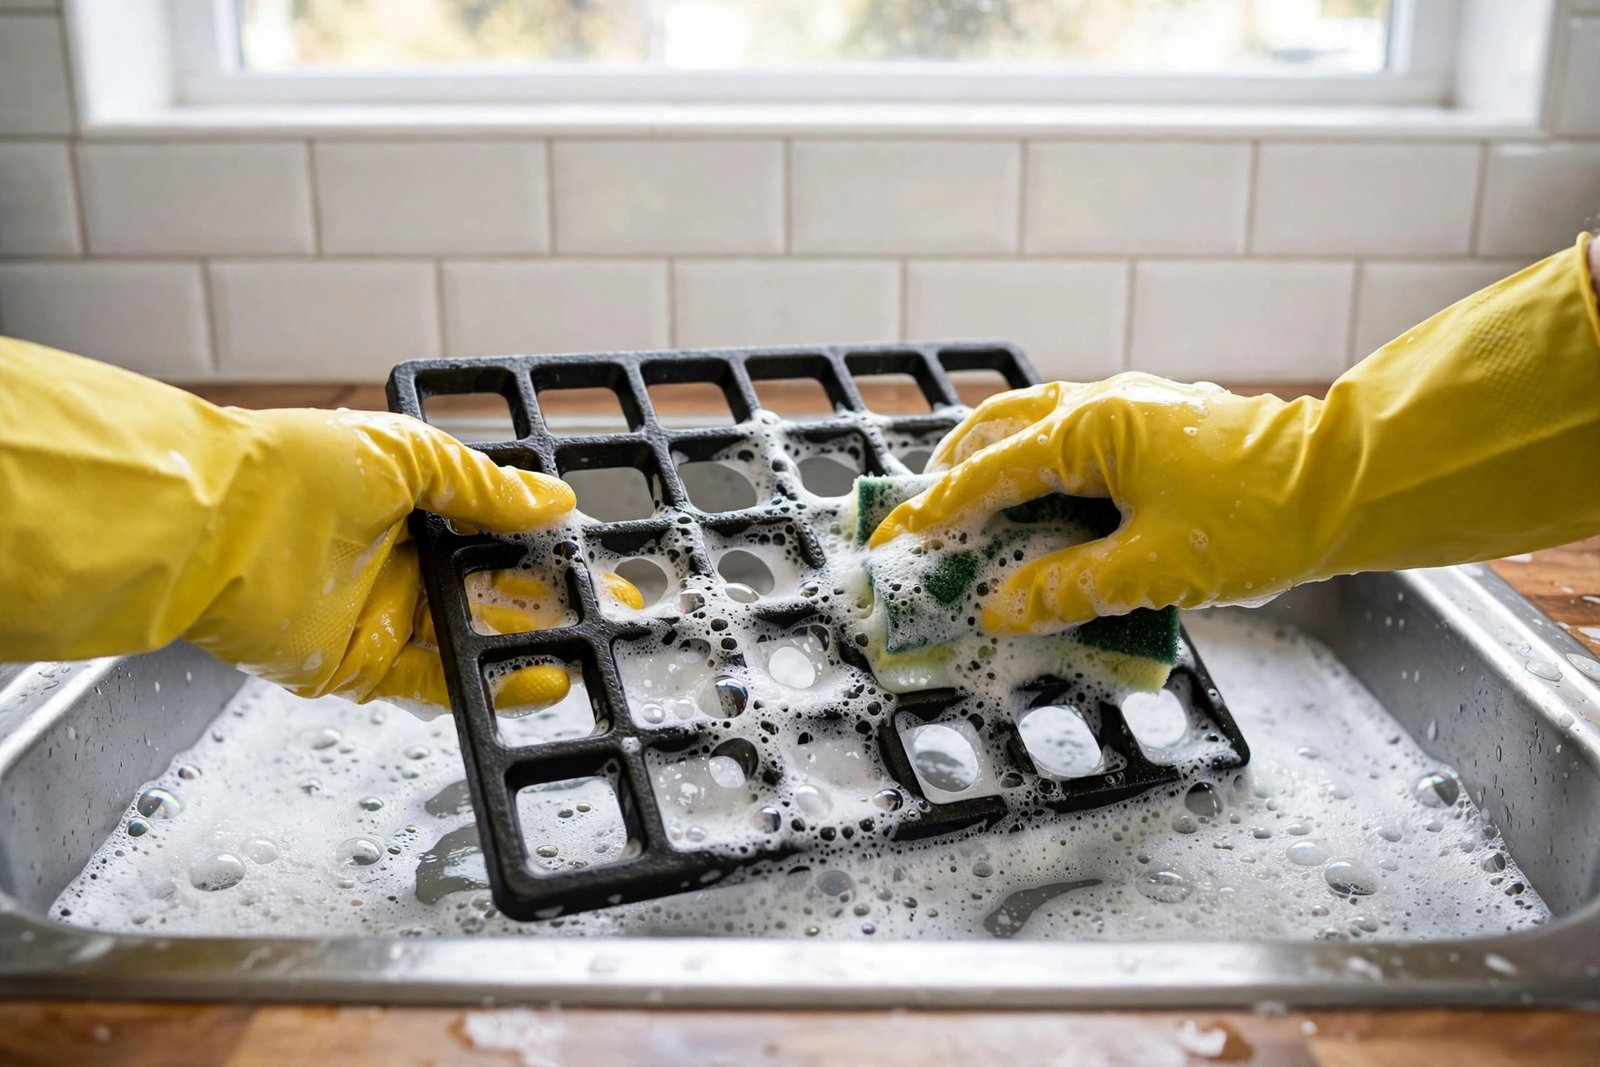
Grease is the hardest part of most kitchen deep cleans, because it builds up in thin layers and feels sticky rather than dirty. Start with the cooker hood. Remove the metal filters if you can, and soak them in hot water with washing-up liquid while you clean the rest of the hob. Wipe the inside of the hood with a damp cloth, taking care around lights and controls, and dry it before replacing the filters.
Remove burner caps, rings, and grates where possible and soak them in hot soapy water. Wipe the hob surface with warm soapy water, using a plastic scraper for burnt-on spots and a soft cloth for glass and ceramic tops. Wipe the splashback from top to bottom, rinsing the cloth often, then dry everything with a clean cloth.
Clean Oven Naturally and Without Strong Fumes
Many people put off oven cleaning because strong oven cleaners smell unpleasant and need careful handling. It is possible to clean oven naturally with a simple paste and patience. Remove the racks and any loose debris first. Mix bicarbonate of soda with a little water to form a thick paste, spread it over the inside surfaces, avoiding heating elements, and leave it overnight. The paste softens burnt-on food so it can be wiped away with a damp cloth the next morning. For stubborn spots, spray a little white vinegar over the paste and wipe again once the fizzing stops.
Soak the racks in hot water with washing-up liquid while the paste works. Scrub, rinse, and dry them fully, and wipe the oven door glass with the same paste. A naturally cleaned oven may need a second pass on very old marks.
How to Clean Kitchen Sink, Taps, and Drains
Knowing how to clean kitchen sink areas well makes a visible difference, because the sink is used many times a day. Start by removing washing-up items, the plug, and any mats or racks. Rinse the sink, then scrub the bowl, the drain area, and the overflow with warm soapy water and a brush. For limescale around taps, lay a vinegar-soaked cloth over the area for fifteen minutes, then wipe, rinse, and dry.
Drains need care too. Pour a kettle of hot water down the drain, followed by bicarbonate of soda and white vinegar, and flush with hot water again after fifteen minutes. Use a drain strainer to catch food scraps, and wipe the tap handles and the area where the tap meets the sink. Finish by cleaning the draining board and the soap dish. A clean, dry sink at the end of the day discourages smells and makes the morning kitchen feel fresh.
Deep Clean Refrigerator and Freezer
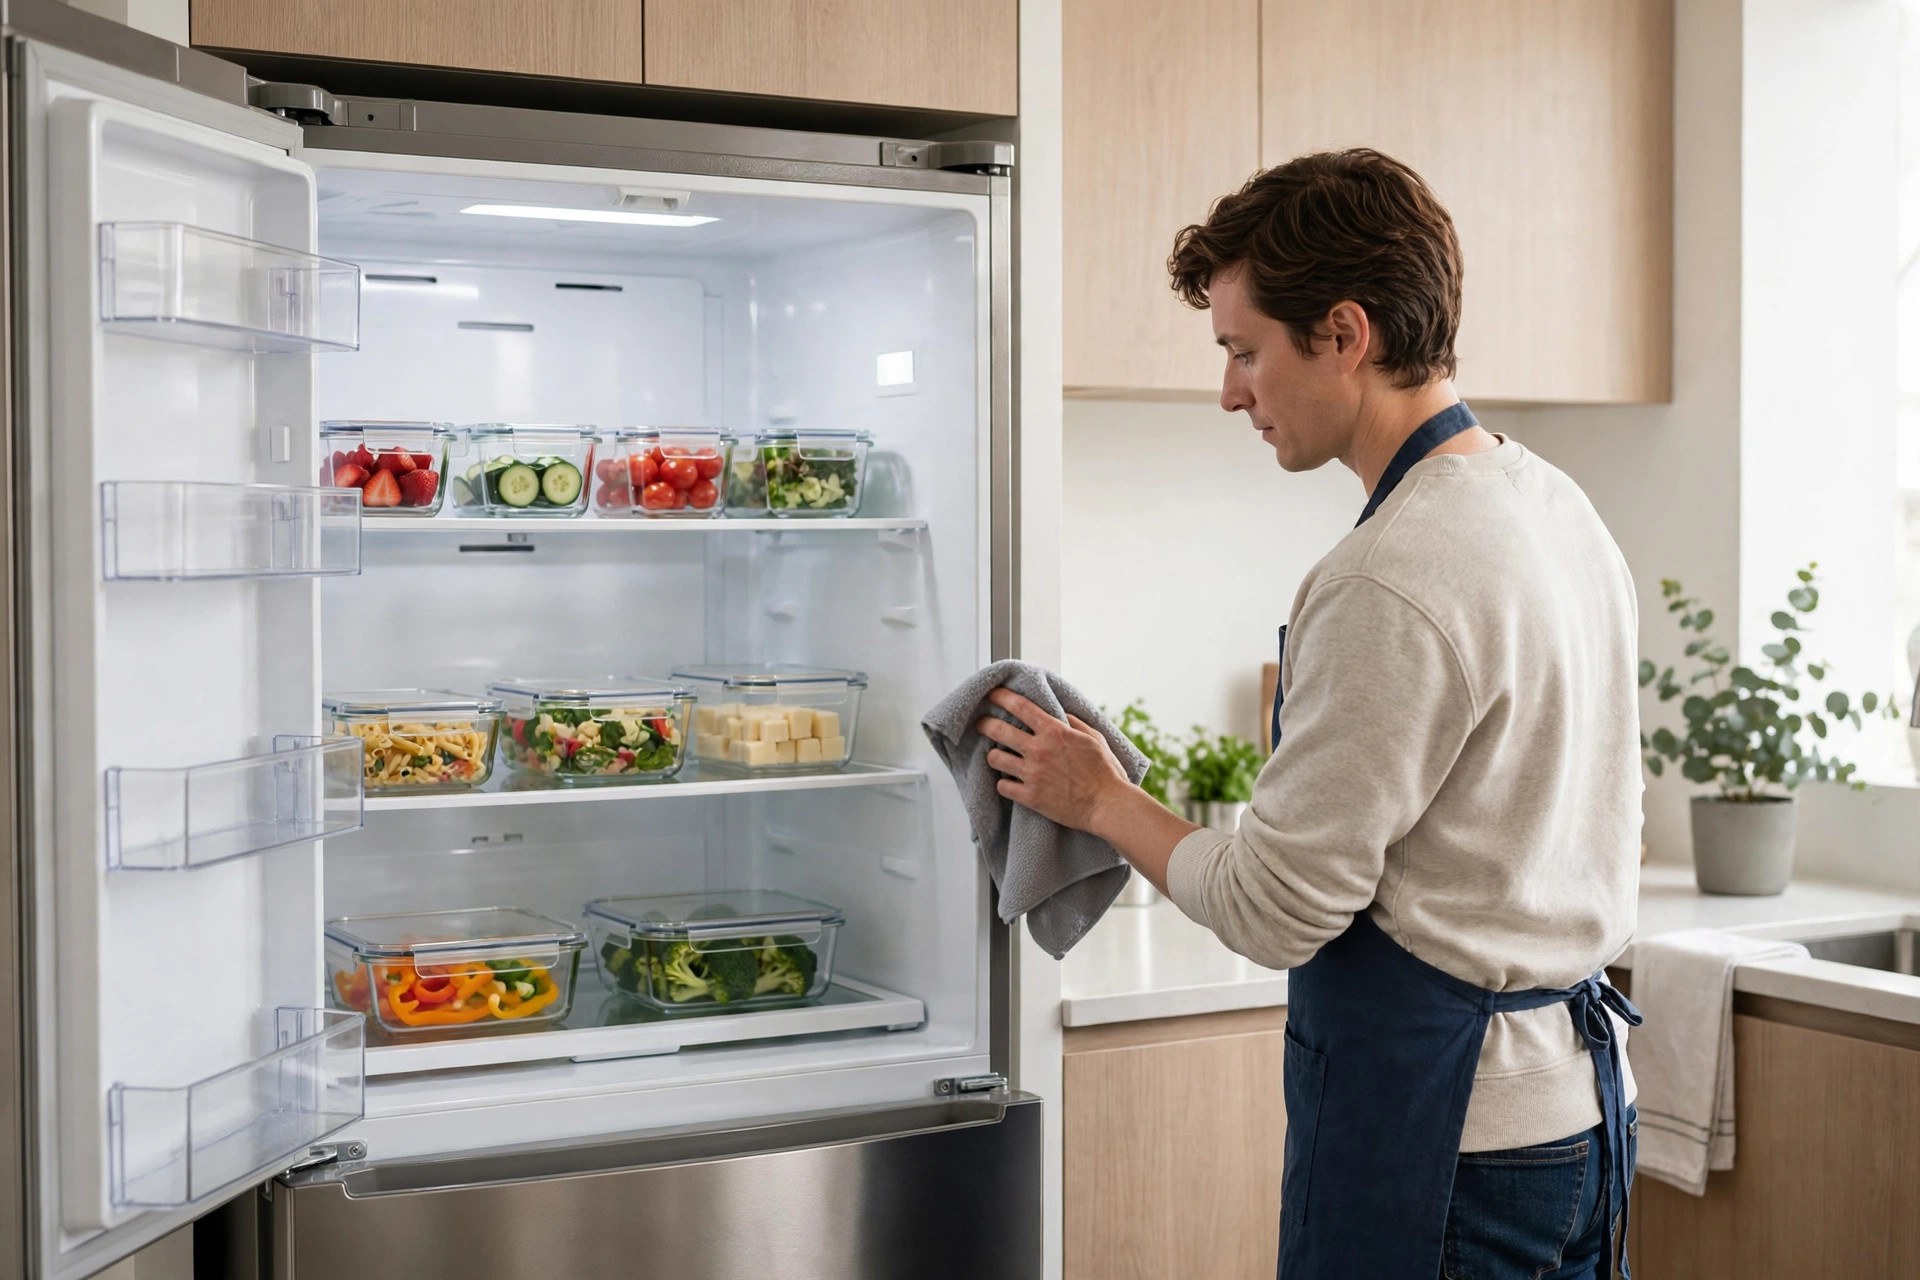
To deep clean refrigerator shelves and drawers safely, work in groups so food stays cold. Take out one shelf at a time, move perishable food into a cool bag, and wipe the empty shelf with warm soapy water. Dry it fully before it goes back. Remove drawers and wash them in the sink if they fit, or wipe them in place. Pay attention to door seals, where crumbs and spills collect, and wipe them with a damp cloth and an old toothbrush. Check dates as you return food, and throw away anything expired or past its best.
For the freezer, move frozen food into cool bags, remove loose ice with a plastic scraper, never a knife, and wipe the inside with warm soapy water. Dry it before switching it back on, and wipe the outside of both appliances, including handles and tops.
Worktops, Small Appliances, and Everyday Touchpoints
Worktops need cleaning suited to their material. Laminate and solid surfaces usually take warm soapy water well, while natural stone and wood need the cleaner the maker recommends. Wipe from the back edge to the front, rinse the cloth often, and dry the surface so water does not sit in joins. Once the worktop is clean, return only the items you use daily, and find a home elsewhere for the rest.
Unplug each small appliance before wiping the outside, the cord, and the area underneath. Empty the toaster crumb tray, descale the kettle as its guide advises, and wipe the microwave inside and out. Wipe light switches, handles, and bin lids too: the places hands touch most.
Floors, Bins, and the Final Details
Floors should always come last, because cleaning above them drops dust and crumbs downwards. Sweep or vacuum the whole floor first, including under the fridge and cooker if you can move them safely, and along skirting boards and door thresholds. Mop with warm water and a floor cleaner suited to your floor type, working from the far corner towards the door so you do not walk over wet floor. Rinse the mop often, and let the floor dry fully before putting mats back.
Empty and clean the bin, wash the inside with hot soapy water, dry it, and put in a fresh liner. Replace tea towels, wash the mop head, and put cleaning supplies away safely.

Keeping It Clean: A Kitchen Cleaning Schedule That Lasts
A deep clean is only useful if the kitchen stays reasonably clean afterwards. A simple kitchen cleaning schedule divides jobs by how often they need doing. Daily jobs are washing up, wiping worktops and the hob, and taking out rubbish. Weekly jobs are mopping the floor, cleaning the sink thoroughly, and wiping cabinet fronts and handles. Monthly jobs are cleaning the oven, wiping inside one cupboard, and checking the fridge for expired food. A seasonal deep clean then covers the tops of cabinets, the hood filter, and the areas behind appliances.
The benefits of regular deep cleaning are easy to feel: less grease, fewer smells, and a kitchen that never feels overwhelming. How to create a cleaning schedule that fits your busy lifestyle is a useful next step for a whole-home version. Keep the schedule on the fridge, and share the jobs fairly if you live with others.
Mistakes That Make a Deep Clean Harder
The biggest mistake is starting at the bottom, so dust and drips land on a floor you have already cleaned. Always work top to bottom. Using too much product also hurts: extra cleaner leaves residue that attracts dirt. Use a small amount, rinse often, and dry as you go. Do not soak wood, electrics, or unsealed stone.
Another common mistake is mixing cleaning products, especially bleach with anything acidic, which can create harmful fumes. Never mix products, and keep the room ventilated. Finally, do not rush the soaking stage. Oven racks, hood filters, and burnt-on spots clean far more easily after a proper soak, while scrubbing at them dry wastes effort and can scratch surfaces.

FAQs
How long does it take to deep clean a kitchen?
A full deep clean usually takes two to four hours, depending on kitchen size and how long it has been since the last one. Soaking oven racks and filters while you work saves time.
What should I clean first in a kitchen deep clean?
Work from top to bottom. Start with light fittings and cabinet tops, then cabinets, splashback, worktops, and appliances, and finish with the sink and floor last.
Can I deep clean a kitchen without strong chemicals?
Yes, warm soapy water, bicarbonate of soda, and white vinegar handle most kitchen jobs well. Always test a hidden patch first, and follow surface and appliance makers’ guidance.
How often should I deep clean my kitchen?
A full deep clean every three to six months suits most homes. Weekly wiping and monthly oven and fridge checks keep the kitchen in good shape between deep cleans.
Is it safe to clean behind the fridge and cooker?
Move appliances only if you can do so safely, without straining cords or gas connections. Switch off and cool appliances first, and ask for help with heavy items.
Conclusion
Knowing how to deep clean kitchen spaces is a practical skill that pays off every day. Work top to bottom, clean one area fully before moving on, soak the stubborn parts while you work elsewhere, and finish with the floor. A deep cleaning kitchen checklist keeps you on track, and a simple weekly routine keeps the result. Set aside a few hours, open a window, and start with the cabinet tops.
Disclaimer: This article is provided for general information only and is not professional advice. It does not involve guest posting, paid promotion, or advertising, and thestylesmagazine.com does not sell or endorse any product mentioned. Results vary from home to home, so consider speaking with a qualified professional about safety, electrical, gas, or other personal concerns before making major changes.
Does this article help you? Explore our website The Styles Magazine to find more helpful and fun stories that could help you.
